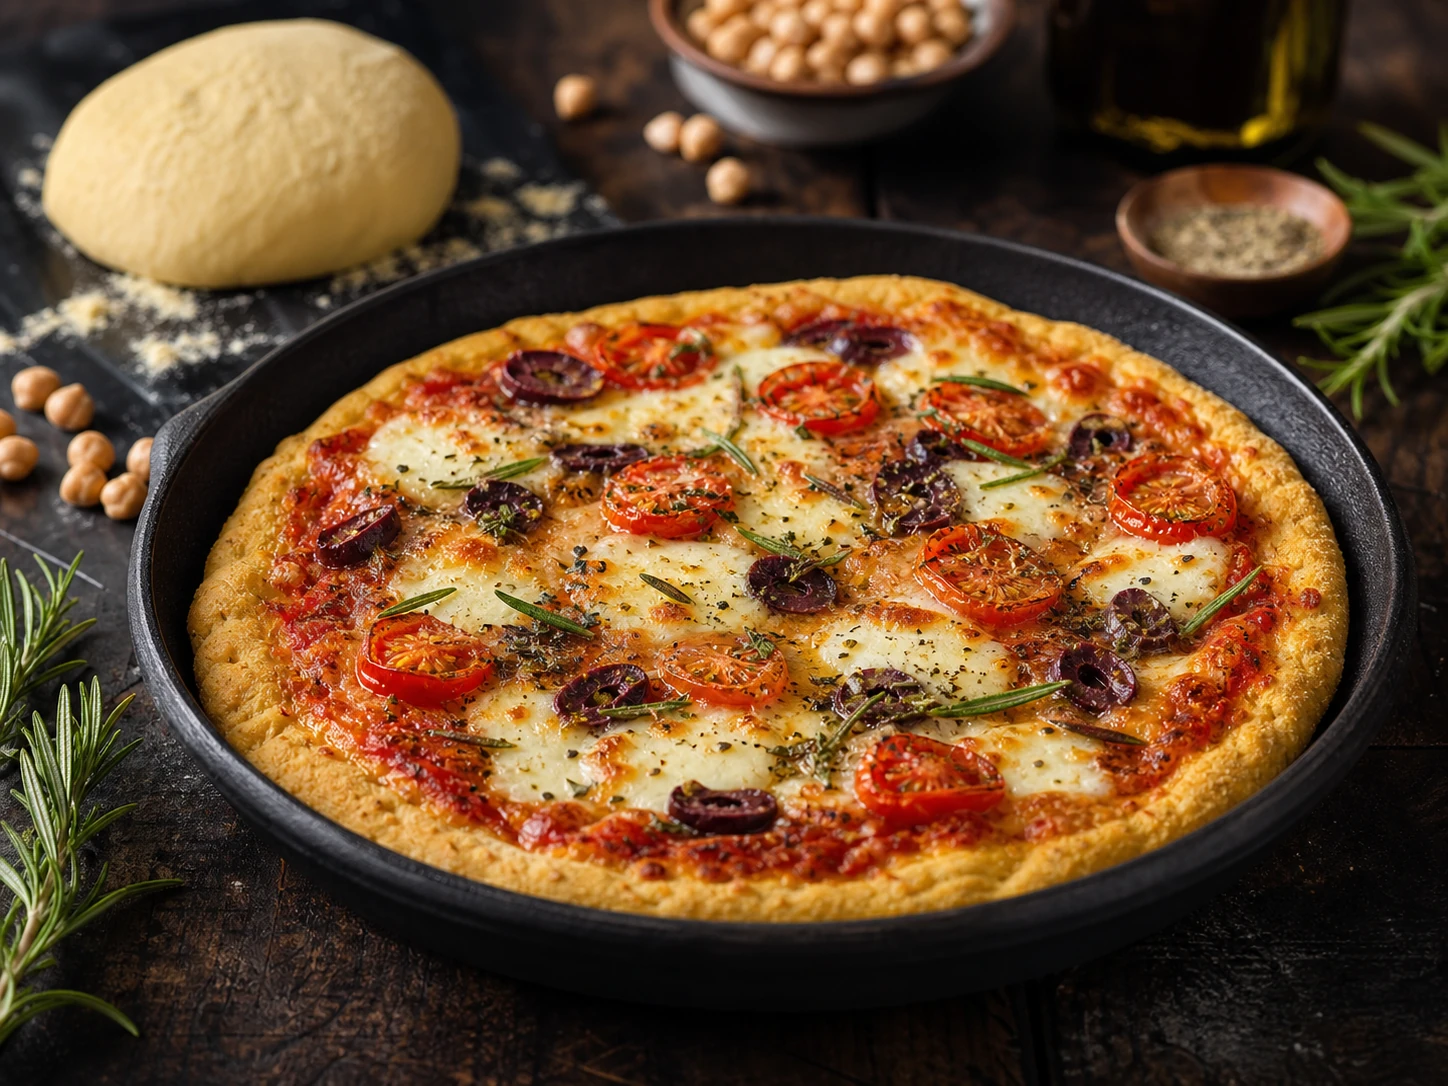
Why this formula works
Chickpea flour supplies toasted flavor and protein but can bake dense on its own. A modest 30 g tapioca portion improves flexibility without hiding the chickpea character. Thirty minutes of hydration removes grittiness, while a fully heated, oiled cast-iron pan sets the underside before sauce can soften it.
Honest timing
| Active preparation | 15 min |
| Hydration / proof / preheat | 30 min |
| Cooking / baking | 22 min |
| Elapsed total | 1 h 7 min |
Ingredients
- finely milled chickpea flour120 g (4.2 oz)
- tapioca starch30 g (1.06 oz)
- room-temperature water200 g (7.1 oz)
- extra-virgin olive oil, divided20 g (0.71 oz)
- gluten-free baking powder3 g (0.11 oz)
- fine sea salt4 g (0.14 oz)
- finely ground black pepper1 g
- fresh rosemary needles, very finely chopped2 g (0.07 oz)
- garlic powder1 g
Equipment
- digital scale
- large bowl and whisk
- 28 cm / 11 in oven-safe cast-iron skillet
- thin flexible spatula
- cooling rack
Exact method
- 1. Whisk chickpea flour, tapioca starch, baking powder, salt, pepper, rosemary and garlic powder for 30 seconds. Break up every chickpea-flour lump before liquid is added.
- 2. Whisk water with 10 g of the olive oil. Pour it into the dry mixture gradually while whisking until the batter is glossy and completely smooth.
- 3. Cover and rest exactly 30 minutes at room temperature. Whisk again; the rested batter should flow in a thick ribbon. Do not add flour merely because it looks looser than wheat dough.
- 4. During the final preheat, put the cast-iron skillet on the selected hot steel, inverted sheet or oven surface. Add the remaining 10 g oil and carefully swirl it across the base and lower edge.
- 5. Pour the batter into the hot skillet and level it immediately. Par-bake with the matching setup below until the top is matte, the edge is deep gold and a spatula slides under the base without wet batter.
- 6. Loosen the entire circumference. If the center is firm enough, turn the crust with a plate or two broad spatulas and bake the second side for 3–4 minutes; otherwise give the first side 2 minutes more before turning.
- 7. Return the browned side downward. Add no more than 70 g thick sauce and 110 g well-drained toppings, keeping the outer 1 cm clear.
- 8. Finish with the same oven setup until the topping is hot and the lower surface is crisp. Rest on a rack for 2 minutes before cutting so steam cannot soften the pan crust.
How to know it is ready
- Top is matte before the first turn, with no liquid center.
- Underside is evenly nut-brown, not black at the oil line.
- A slice lifts in one piece after the rack rest.
- Center is tender and flexible, never gummy or raw-tasting.
Troubleshooting
- Gritty center: hydration rest was shortened or flour was coarse.
- Base sticks: skillet or oil was not fully hot before pouring.
- Crust cracks during turning: first side was underbaked; wait until the top is matte.
- Soft finished base: topping exceeded 180 g or the crust rested on a solid board instead of a rack.
How to adapt the base recipe
- For a 24 cm / 9.5 in thicker pan crust, use the same batter and extend the first par-bake by 2–4 minutes.
- For a milder profile, replace rosemary with 2 g dried oregano; keep the salt and liquid unchanged.
- For strict gluten-free cooking, verify chickpea flour, tapioca and baking powder and control shared pan, whisk, worktop and oven cross-contact.
Storage and food safety
Cool a par-baked untopped crust completely. Refrigerate airtight for up to 3 days or freeze with parchment for up to 2 months. Recrisp the bare crust on the preheated surface before topping.
Allergens
No EU/UK major allergen is intentionally included in the base formula.
Always verify every label and cross-contact risk; brand formulations can change.