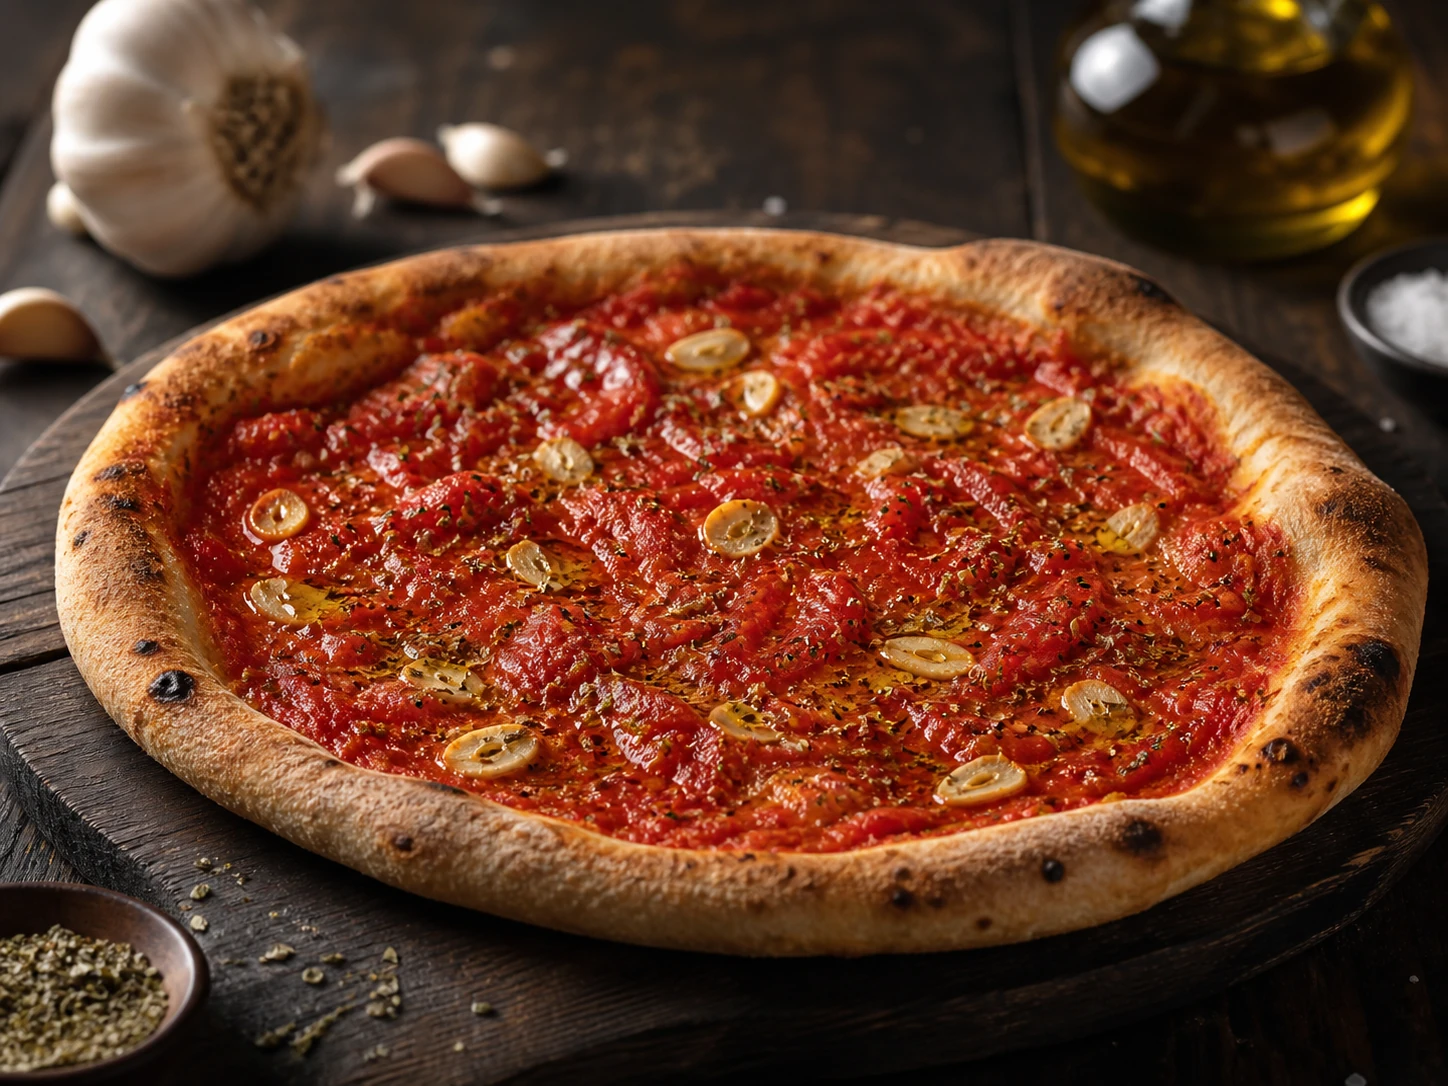
Why this formula works
Without cheese, there is nowhere for watery tomato or harsh garlic to hide. A thin tomato layer, paper-thin garlic and measured oil let the dough bake cleanly while keeping the classic sharp, herbal character.
Honest timing
| Active preparation | 12 min |
| Hydration / proof / preheat | 45 min |
| Cooking / baking | 8 min |
| Elapsed total | 1 h 5 min |
Ingredients
- mature original Neapolitan dough ball250 g (8.8 oz)
- peeled whole tomatoes, crushed by hand80 g (2.82 oz)
- small garlic clove, sliced paper-thin1
- dried oregano, preferably rubbed between the fingers0.5 g
- fine sea salt1 g
- extra virgin olive oil7 g (0.25 oz)
Equipment
- pizza stone or steel and peel
- or a pizza oven
- small sieve
- very sharp knife or mandoline
Exact method
- 1. Preheat a stone or steel at the home oven's maximum setting for at least 45 minutes. For a pizza oven, stabilize the floor around 430–450°C / 806–842°F.
- 2. Crush the tomatoes by hand, mix in the salt and let excess watery juice drain for 5 minutes.
- 3. Peel the garlic, remove any green germ and slice it paper-thin. Rub the oregano briefly between your fingers to release its aroma.
- 4. Open the dough to 28–30 cm on a lightly floured peel, preserving a 1–2 cm gas-filled rim. Check that the base moves freely.
- 5. Spread the tomato thinly. Distribute the garlic slices and oregano evenly; drizzle over about two-thirds of the oil.
- 6. Bake immediately: 60–90 seconds in a pizza oven, turning every 20–30 seconds, or about 5–8 minutes on a fully heated home-oven steel.
- 7. Pull the pizza when the underside is dry and browned and the garlic is golden at the edges, never dark brown. Add the remaining oil and rest 60 seconds before slicing.
How to know it is ready
- The tomato has concentrated without drying into paste.
- Garlic smells sweet and aromatic, not burnt or bitter.
- The center supports itself when a slice is lifted.
Troubleshooting
- Bitter garlic: slices were too thick, too exposed or baked too long.
- Wet center: drain the tomatoes and reduce the amount rather than adding flour.
- Flat flavor: correct salt first, then add oil after baking.
- Dry pizza: use the full tomato dose and shorten the bake.
How to adapt the base recipe
- For stronger garlic, rub half a raw clove on the hot crust after baking instead of piling on more slices.
- For a home-oven dough, follow that dough's formula; the topping itself needs no cheese substitute.
Storage and food safety
Best fresh. Cool leftovers promptly, refrigerate up to 2 days and reheat dry in a hot skillet or oven.
Allergens
Gluten (wheat)
Always verify every label and cross-contact risk; brand formulations can change.